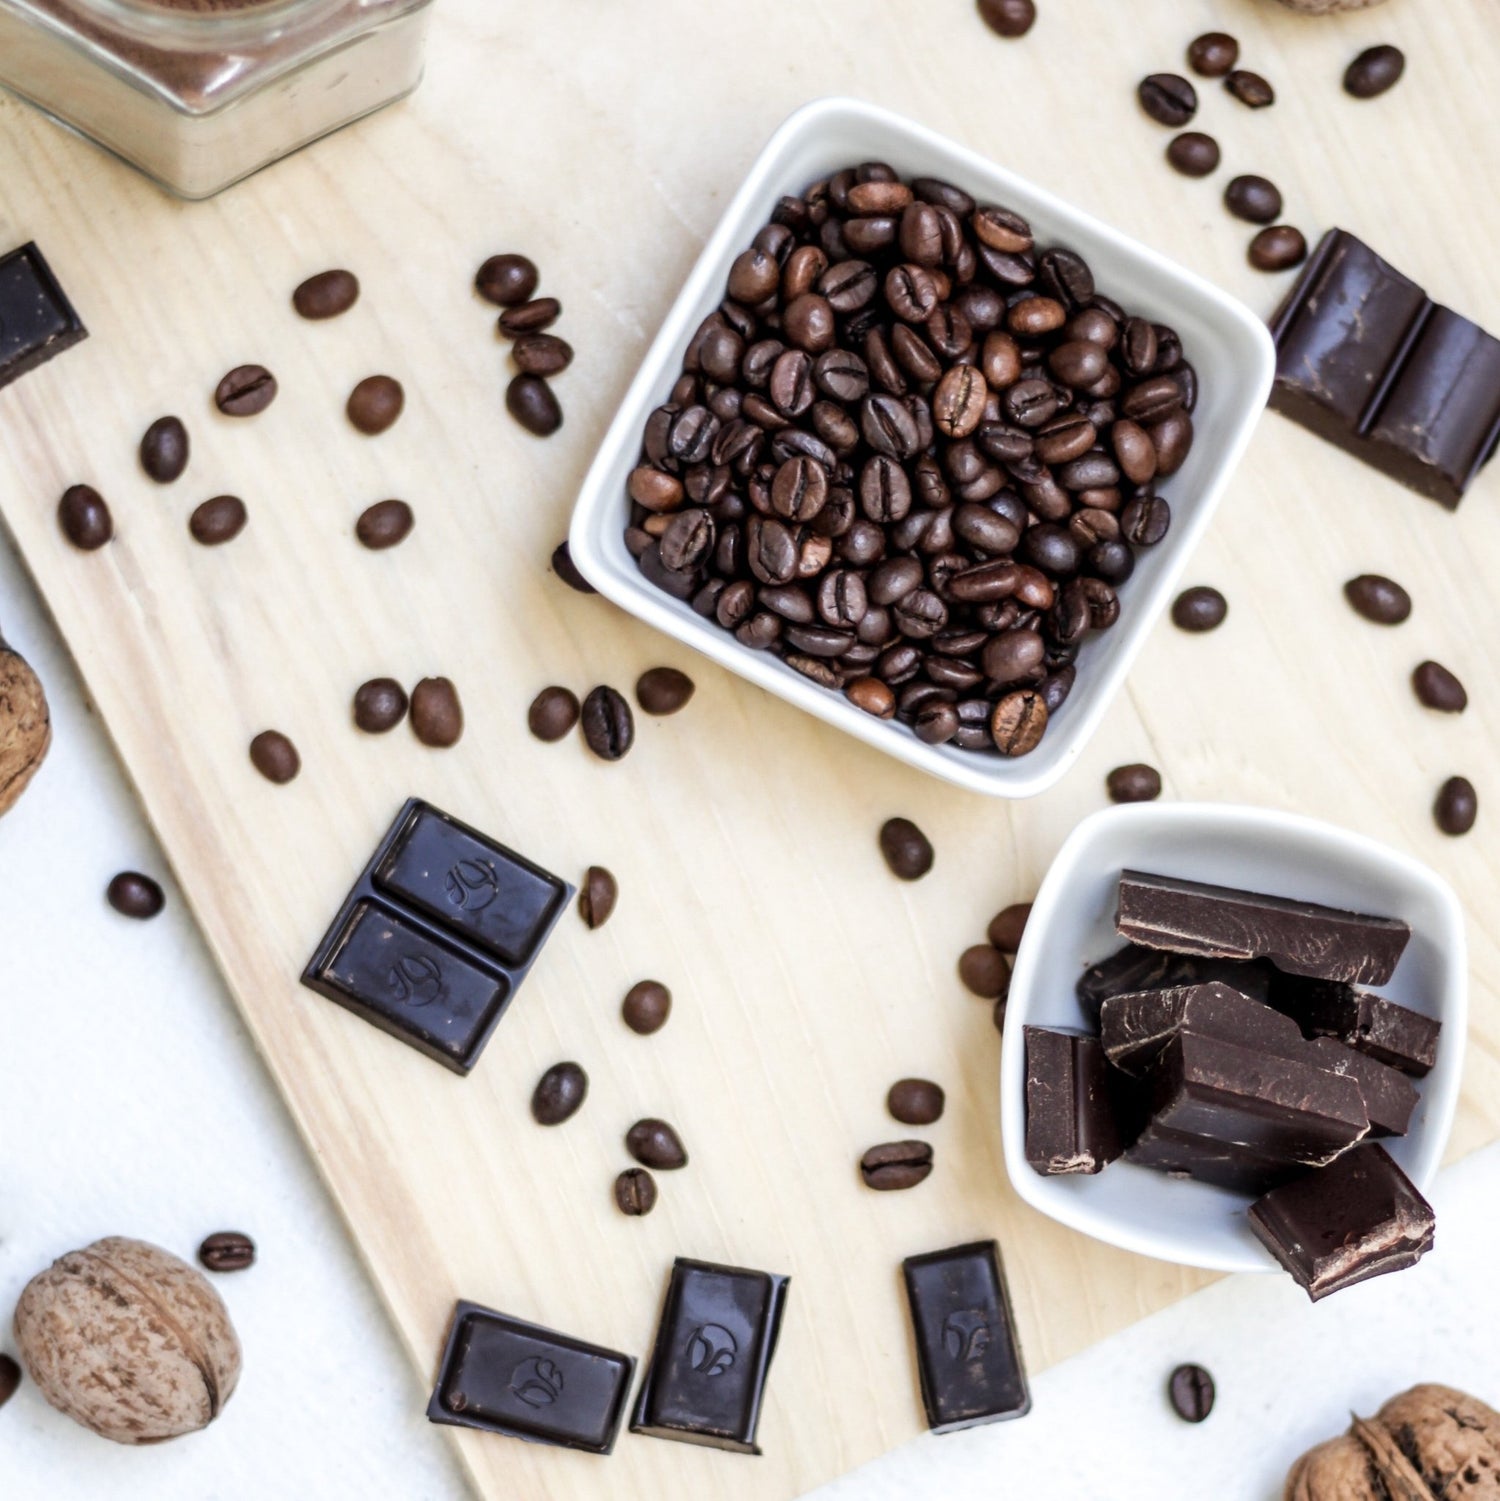
Can you roast good coffee at home?
Roasting good coffee at home is very achievable. It is essential to have a proper coffee roaster and good green coffee beans. We don’t suggest using DIY tools such as a grill, popcorn machine, or frying pan because the resulting coffee will be roasted inconsistently and unevenly. With a bit of practice and the right tools, you can roast good coffee at home that rivals your favorite coffee shops.
While some coffee roasters can be expensive, even for home use, many affordable options will yield incredible results with very little practice. Combined with the following steps, you’ll be on your way to roasting amazing coffee at home in no time!

How to roast coffee at home
1. Buy Green Coffee Beans
Buying great green coffee beans for home roasting is crucial. You have to start with a quality product to get quality results. Our recommendations for where to buy green coffee are your local coffee roaster or online. Your local coffee roaster may be willing to sell you some green coffee if you just kindly ask. Many times coffee roasters experiment around with new coffee beans that just don’t work out for them for numerous reasons and they will be happy to sell them to you. Simply ask them if they have any green coffee they would be willing to sell you. More often than not, they will be more than happy to help out a new coffee roasting enthusiast. It’s important to note that you must go to a coffee roaster and not a coffee shop. Many coffee shops do not roast their coffee and therefore don’t have access to green coffee.
If your town doesn’t have any local coffee roasters or you simply prefer convenience, several online retailers sell phenomenal green coffee. Here, the more information the seller can provide about the coffee and its origin, the better. A lot of online retailers have hundreds of coffees to choose from. We recommend starting with what’s familiar to you and staying below $8 per pound of green coffee. Choosing a familiar coffee will be beneficial because you will have an idea of what it is supposed to taste like and choosing an affordable option is helpful since you will inevitably waste some coffee at first while you get the swing of things.
Coffeebeancoral.com is a phenomenal source of green coffee, run by people who are incredibly passionate about coffee. The selection is vast and you can find coffee from around the world at virtually any price point. Using their coffee bean matrix to filter the large selection gives you control over what you want, from high acid to heavy chocolate taste and everything in between.

Alternatively, Burmancoffee.com is also a great option for green coffee. They are a family-run operation that has been procuring some of the freshest green coffee since 2002. They truly care about the impact their business has on the communities they source from and you can rest assured that your purchase goes to the right place where it supports small family farms.
2. Set up your coffee roaster in a well-ventilated space
Roasting coffee creates arguably the best smell you can fill your house with. However, it can also produce a lot of smoke. If your kitchen is anything like ours, those smoke alarms are finicky and will go off if you look at them the wrong way. We recommend roasting your coffee under your stove top exhaust hood if it vents to the outside, or roasting in front of an open window with air circulation such as a fan. If you want to mitigate any smoke in your home, simply roast your coffee outside.

Most coffee roasters for home use are very user-friendly. We strongly recommend reading the instruction manual for your roaster before you begin to understand the nuances of your roaster and how to control the heat, duration, and airflow of the roast. Your manual will also instruct you on how much green coffee to load into the roasting chamber and the approximate time it will take to roast your beans.
3. Begin roasting your coffee in small batches
Most home coffee roasters are designed to roast very small batches, often only about a cup or two of beans. This is intentional. Since coffee roasting is highly experimental and takes several attempts to nail the right temperature and duration for your desired results, roasting small batches is far more economical than wasting larger batches. Additionally, since home roasting is designed for single households, there often is no need to roast large quantities of coffee. Freshness is key and freshness only remains if you roast frequently, so don’t expect to roast one large batch to last you the next six months. Instead, think of it like grocery shopping; a weekly activity.

Once you are ready and begin roasting, the drying phase commences. In these first few minutes, it’ll appear as if not much is happening. During this time, the beans are drying further and heating up. You may notice that the beans begin to yellow and even slightly brown. This is when the roasting begins.
4. Wait for the first crack indicating a light roast
After several minutes you will hear a cracking coming from each of the beans, similar to popcorn popping. This cracking is due to the water in the beans evaporating and creating steam. Additionally, several gases including carbon dioxide are released inside the bean. Eventually, the pressure builds enough to crack the coffee bean and escape, resulting in the crack you hear. The time it takes for this to occur depends on your beans, the roasting temperature, and the airflow.

The first crack indicates that you’ve hit or passed the light roast threshold and if that is what you’re aiming for, you can stop the roast at any point. Some light roasts are stopped even before the first crack. For your first few roasts, we recommend roasting longer to gain more experience and to get an idea of what all stages of a roast look and sound like.
5. Wait for the second crack indicating a medium-dark roast
Within a few minutes of the first crack, you will hear what is referred to as the second crack. This one is far quieter and happens for a completely different reason. During the roasting process after the first crack, the beans are roasted and virtually all moisture escapes from the beans. The roasting process rapidly heats the beans until the cell walls in the beans begin to rupture, or decay. This results in cracking which sounds similar to quietly opening a soda can or sparkling water bottle. Once you hit this threshold, you have achieved a medium-dark roast. But wait- where is the medium roast? Since coffee roasting occurs on a spectrum or a range and not at hard stops, the medium roast occurs somewhere between the first and second crack. Where exactly is up to the roaster, i.e. you!

We recommend roasting your beans for approximately 30 seconds to 2 minutes past the start of the second crack to achieve a solid medium-dark roast. The additional roasting time after the second crack allows the heat in the beans to melt and caramelize the sugars in the beans creating a lot of the coffee flavors that you will recognize, such as caramel and chocolate. This is also where you will achieve a good harmony between acidity and bitterness with sufficient sweetness to balance the flavor. While this is not a steadfast rule and more of a suggestion, looking for a shiny film to appear on the coffee beans can be a good indicator of this roasting level. Here, the oils are pushed to the bean’s surface and coat the outside of the bean.

If you continue roasting beyond this point, you will notice that your beans take on a lot of shine from their oils and will darken to nearly black. At this point, you have achieved a dark roast. We don’t recommend roasting this far in the beginning because, within seconds of reaching the dark roast threshold, you can venture into burning your beans and potentially creating a fire. Additionally, the darker you roast, the more smoke you will create. If you are roasting indoors and don’t have great ventilation, we recommend staying closer to a medium roast.
6. Cool your coffee quickly
Once you have achieved the roasting level that you want, it is crucial to rapidly cool your coffee. The principle here is similar to cooking any food. For example, if you steam broccoli and you’re aiming for that soft crown with a tender, but firm stem, you would steam it until it reaches this point and then quickly remove the broccoli from the steamer and shock it in ice water to arrest the cooking. Leaving it in the steamer would result in overcooking and very soft broccoli throughout. With coffee beans, we don’t recommend shocking them in ice water. You spent all this time roasting them and getting them nice and dry, and moisture is your coffee’s worst enemy at this stage. Instead, we recommend the following three options for cooling your coffee beans quickly:
-Use a metal sieve or strainer

Our top choice for cooling coffee beans is using a metal strainer or sieve large enough to hold your entire batch of roasted coffee. Simply transfer your beans to the strainer and shake them to circulate air through the beans. Do this over something like a trashcan or sink to catch the chaff that will fall off the beans. Be careful, the beans are extremely hot and will burn you if you touch them. For this reason, you should never use plastic colanders or strainers to cool your beans- they will melt the plastic.
TIP: The cooler the air, the faster your beans will cool down. If it is cold outside, we recommend shaking the strainer outside.
-Use a metal baking sheet

If you don’t have access to a metal strainer, a baking sheet will also work great. If possible, place your metal sheet pan in the refrigerator or freezer before roasting. While your beans are roasting, pull the baking sheet out of the cold. Once the beans finish roasting, quickly transfer them onto the cold sheet pan and shake it to spread the beans out. Continue shaking it to roll the beans over the cold metal surface to cool them evenly. The colder the ambient air, the better, so maybe do this step outside if it’s colder than indoors. Alternatively, you can use a fan if you have one. We don’t recommend putting the beans in the refrigerator or freezer to cool because the beans will absorb the smell of everything around it and can make for unpleasant coffee that smells and tastes like the fridge or freezer.
-Use your coffee roaster
Many coffee roasters have built-in cooling features. Some even come on automatically after you stop the roast. This feature works by simply pumping cooler, ambient air through the roasting chamber. This feature works amazingly well in air roasters and is our recommended choice if your roaster has this feature. If you are using a drum roaster where the beans come into contact with the metal walls of the roaster, the cooling feature is less effective because the metal takes a while to cool down, drawing out the time it takes for your beans to cool off.
7. Let your coffee degas for at least 12 hours
Once your coffee has cooled to room temperature, leave it alone! The coffee has lots of built-up gases that need to escape. You can leave your coffee on a baking sheet or even in a bowl. This lets the gases escape the beans and your coffee will taste a lot better. We recommend waiting at least 12 hours but prefer waiting several days, before grinding and brewing your coffee for this very reason. That said, this is an experimental process for you after all, so why don’t you try brewing some coffee from this batch immediately and every day after to see how the taste changes? That way you can determine how long your particular coffee takes to degas properly and taste great.
8. Store your coffee properly
After your coffee degases, you should store your coffee in an air-tight, opaque, and dry container. Look for ceramic containers with a rubber seal or gasket or coffee bags with air-vent valves. These types of containers will not impart any unwanted taste to your coffee. Adding silica desiccants are great for absorbing any moisture in the container and further preserving your coffee. These are the little pouches that you often find in dried fruit and beef jerky bags. Our favorite place to buy coffee storage containers is at home stores such as HomeGoods and Marshall’s, and on Amazon.
Our all-time favorite is the Fellow Atmos Vacuum Coffee Canister. It comes in three sizes and colors, is aesthetic, and most importantly, is the most effective coffee storage container we have ever used.
 9. Repeat. Experiment with roasting temperature and time.
Since coffee roasting is experimental, we encourage you to conduct many trials to figure out what you like best. We recommend first dialing in the roasting temperature. Roast your coffee to the roasting level that you normally enjoy, and taste the coffee. Once you have your temperature dialed in, play around with the roasting level.

We recommend roasting small batches beginning immediately after the first crack and roasting follow-up batches in 1-minute increments. Use a timer to monitor it exactly and note when the second crack begins compared to the start of the first crack. Similarly, note how long it takes to go from the beginning of the second crack to a dark roast. Once you have found a few roasts along this spectrum that you like, fine-tune your roasting level to the exact amount of time it takes to achieve that roast. After that, it is as simple as dialing in the temperature and setting the timer on your roaster, and letting it crank on autopilot!
Remember, each green coffee you buy will be somewhat different. Don’t carry your roasting settings over from a different green coffee. Instead, follow this same process again for your new coffee. With more and more practice, you will require fewer and fewer trials as you have a better feel for where along the roasting curve you prefer your roast.

How do I know my coffee roasting level?
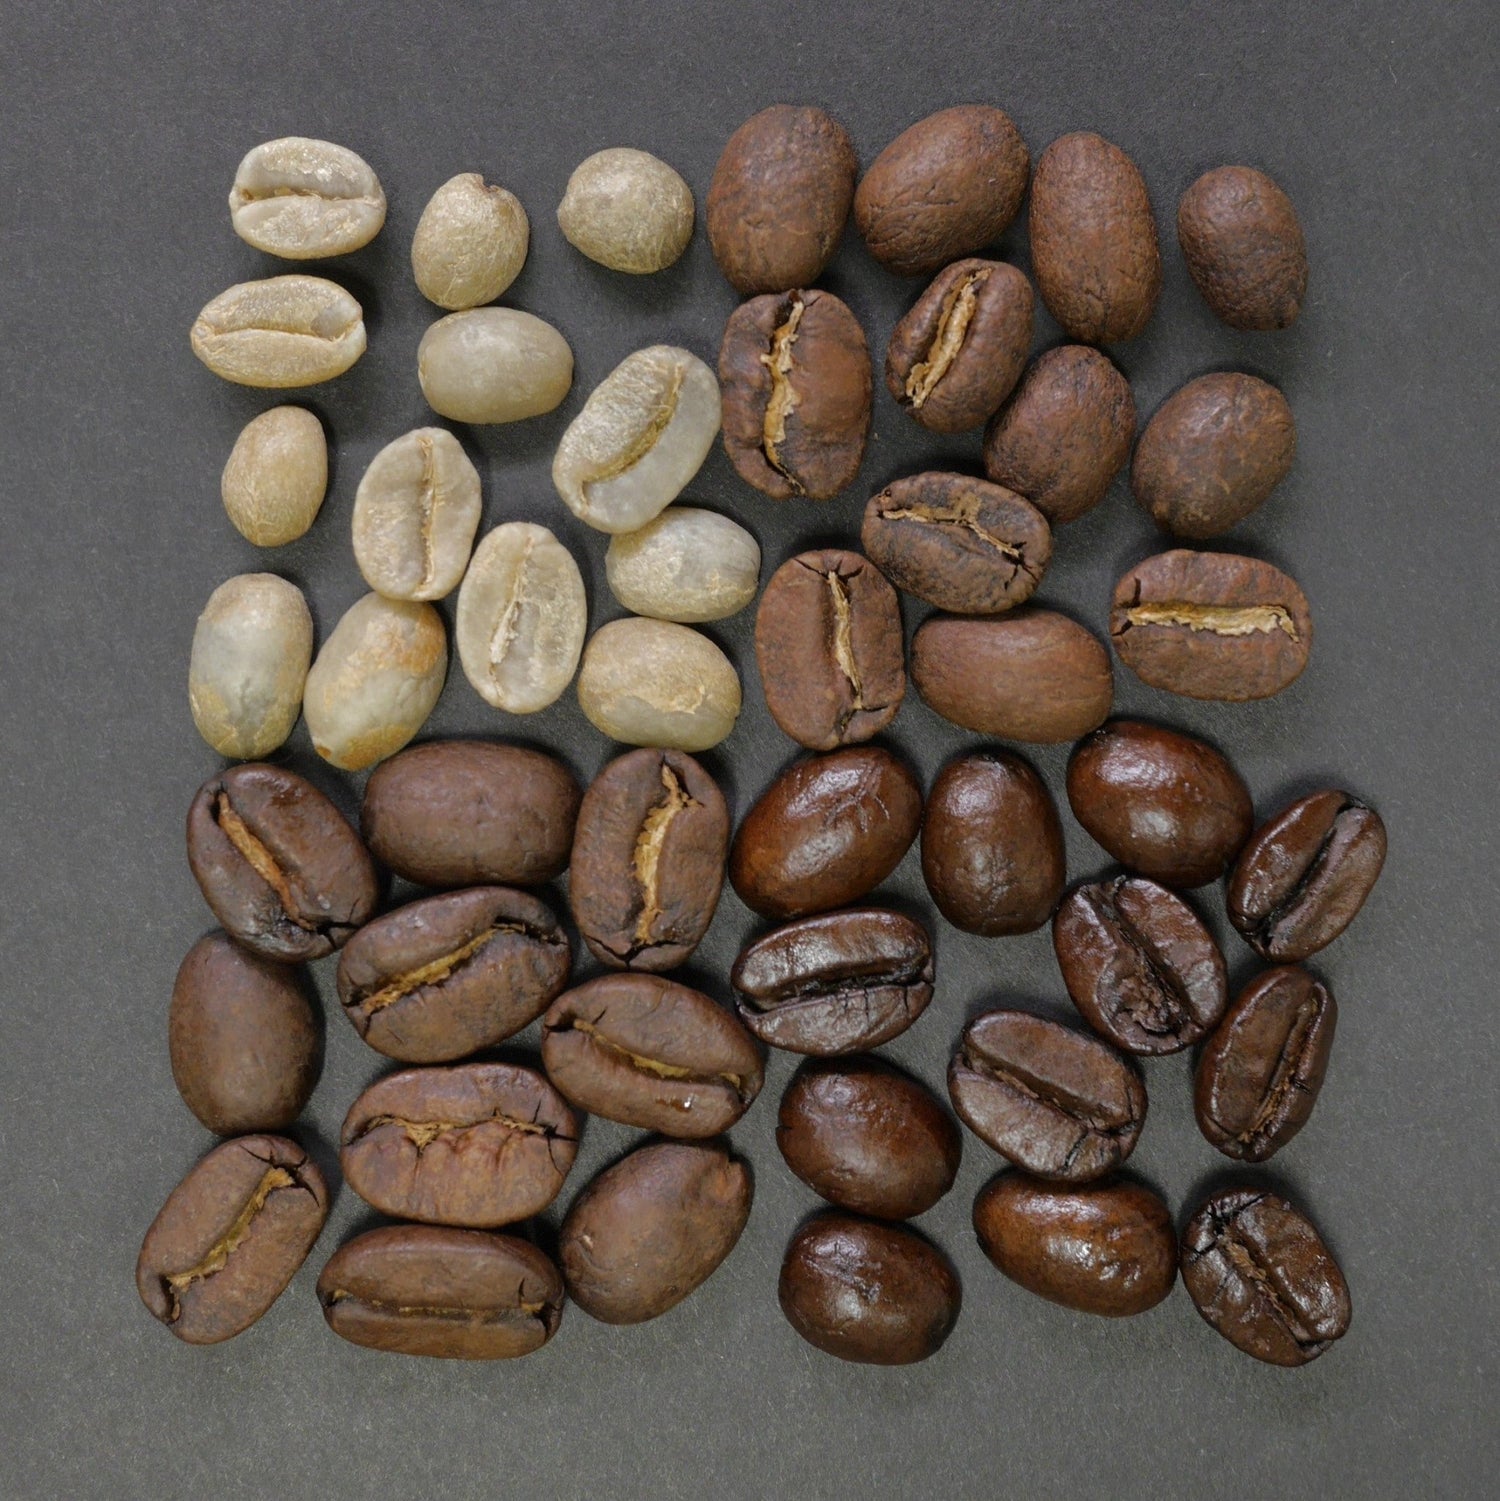
The color of coffee beans is the primary indicator of their roasting level, darkening in color as the roast progresses. Although coffee is described using terms like medium roast, roasting levels are grouped on a spectrum known as the roasting curve. Light roasts occur immediately after the first crack during roasting and a medium to medium dark roast occurs at the second crack. A dark roast occurs within minutes after the second crack and is the last stage in the coffee roasting process. Darker roasts, often called medium dark or dark, can be identified by a shiny oil layer on the beans. Below is a guide on coffee roasting levels, appearance, and common alternate names.
|
Coffee Roasting Level |
Sub-roasting level |
Occurrence |
|
Light Roast |
Cinnamon |
Right BEFORE the first crack. |
|
New England |
Right AT the first crack |
|
|
Light City |
During the first crack |
|
|
Half City |
Near the end of the first crack |
|
|
Medium Roast |
Regular/ American |
At end of the first crack |
|
City |
Ranges between the first and second crack |
|
|
Breakfast |
Near the start of the second crack |
|
|
Medium-Dark Roast |
Full-City |
Beginning of the second crack |
|
Vienna |
Middle of the second crack |
|
|
Dark Roast (many names) |
French |
End of the second crack |
|
Espresso |
Shortly after the second crack |
|
|
Italian |
The darkest roast, just shy of burning |
Is home coffee roasting worth it?
While home coffee roasting will save you a lot of money and is very rewarding, it is important to primarily approach it as a new hobby. This way you will enjoy the learning process and continue with it, especially since a week’s supply of coffee for one person only takes 10-15 minutes to roast from beginning to end.
As long as you keep a good record of your previous roasting temperature, airflow, and duration, you can quickly fine-tune your coffee preferences. Additionally, you get all the control over your coffee so you can roast it exactly how you want, not how a coffee roaster thinks you should drink it.

Is it cheaper to roast your own coffee?
Roasting your own coffee is significantly cheaper than buying already-roasted coffee, even when considering all start-up costs. Most households break even on their coffee roasting investment in three months. Afterward, the daily cost of coffee decreases by 50-75%.
In a 2-person household where each person consumes 2 cups of coffee per day, (far below national averages) a solid home coffee roaster can be paid off in as little as 3 months. Green coffee beans are often less than half the price of roasted coffee. Added benefit- once you learn how to roast great coffee, you can explore more expensive green coffee and still come out on top financially. It is an amazing way to drink far better coffee for less than you spend now.
We created a calculator that will tell you exactly how long it will take for home coffee roasting to pay off for you. Check it out here!

What happens when you roast coffee too long?
Roasting coffee for too long, such as far beyond a dark roast, will result in extremely bitter coffee with very little, flat flavor and may even burn the beans. The breakdown of the coffee beans will cause significant amounts of smoke and may even run the risk of a fire. Many coffee roasters refer to this as an undesirable charcoal roast.
How long does it take to roast coffee?
The time required to roast coffee depends on the temperature it is roasted and the desired roasting level. The average time ranges between 7- 12 minutes for air roasters and 9-15 minutes for drum roasters. If the coffee is still not roasted properly after 15 minutes, the roasting temperature is too low.

At what temperature should I roast coffee?
Coffee is roasted between 355 ºF- 485 ºF (180ºC- 250ºC) and varies between green coffee. Roasting coffee too hot will result in a grassy, vegetal taste because the beans did not spend enough time roasting internally, and roasting too cool will bake the beans instead and will taste dull and flavorless.
Roasting coffee beans too fast is like cooking chicken too quickly. You cook the outside just right and the inside is raw. To get the inside right, the outside will be fully burned. Meanwhile, roasting coffee beans too cool is more baking them. Think of it like trying to brown ground beef in the pan, but not using enough heat instead just boiling it and not getting any sear. The flavor is lackluster and you don’t achieve that nice sear. We recommend starting somewhere around 400 ºF and adjusting from there.
